Our Precious Grandblessings

With God at the center of our lives, even the simplest of things are infused with peace and joy!
❤
Saturday, October 20, 2012
Thursday, October 18, 2012
REPOST: Gettin' Crafty - Handmade Personalized Picture Coasters
I have had requests for the directions for these coasters so here it is!
I absolutely LOVE to make things whenever I can, but I truly enjoy it most of all, when I get to create gifts for those special people in my life for their birthdays, anniversaries, weddings, and Christmas, etc. Here is one of the gifts I made for Bean coasters Don't worry, she won't see these pics. My family doesn't read my blog unless I tell them too! lol
Why have BLAH looking coasters , when you can have BEAUTIFUL and PERSONALIZED coasters instead? Remember.....you can you decorate these with any picture, graphics, you want!
These coasters are SOOO CUTE and SUPER UBER EASY TO MAKE! For these personalized coasters, you will need the following:
4 ceramic tiles in your choice of color, texture, and size (I like the textured 4x4 ones from Home Depot @ .31 cents each)
4 squares of scrapbook paper and cut these whatever size you want for your tile. I wanted a nice border of tile to be seen because I thought it was really pretty, so I cut mine paper smaller, leaving about a half inch tile border.
4 pictures printed to your smaller than your paper so you will have a pretty decorated border. I had to finagle these with my printer because I am COMPUTER ILLITERATE and couldn't figure out how to work the darn thing to make them the size I wanted, where I didn't have to cut them down.
OUTDOOR Mod Podge - it's very important you get the outdoor kind so it will make the coasters waterproof (you can get this at Michael's)
Foam paint brush
Felt (whatever color you like) - this goes on the back or each coaster so they won't scratch your table/counter surface
Aileen's tacky glue - or whatever kind of craft glue that you can use to adhere the felt to the back of each coaster
Directions:
Apply a layer of OUTDOOR Mod Podge to your tile, not real thin, but not goopy - somewhere in between. If you have too much, your picture will move. Lay your scrapbook paper down, smoothing from the inside out to the edges of your paper . . . . . .I used my Pampered Chef scraper for my stoneware! lol Set tile(s) aside and go do some wrapping, bake some cookies, or take a moment and have a nice hot cup of coffee.
After your Mod Podge and paper layer have dried, apply another coat to the entire tile, making sure to completely cover the paper. Now you are going to put your picture right on top of your background paper, making sure to again, smooth out the wrinkles working form the inside, out to the edges of your picture. Again, set aside and go do something FUN while it dries.
Now apply another coat of Mod Podge over your tile, completely covering the paper and picture. Set aside and go give your kiddos a big hug and tell them how much you love them! : > )
Ok, now we are down to the final steps. After your tiles dries, you are going to apply two (2) more coats of Mod Podge, allowing your tile to dry in between each coat. Now that you have finished your coasters, you need to allow them to cure for a day or two.
Now that your coasters have cured, it's time to put on the finishing touch, the felt. Lay your coaster on top of your felt and trace around all four edges and cut out. Apply your craft glue to the back, then adhere your felt. When the glue has dried, trim off the excess felt so it will be flush with the sides and not visible.
Now you are ready to wrap up your handmade personalized picture coasters all nice and pretty. See....that wasn't that hard, was it? I know you will really like these coasters and end up making a set for yourself. I also bought bigger tiles and will either make trivets or get those little tabletop stands and put them up as pictures to decorate the piano!
Don't forget, if you make these coasters, please come back and leave a link so we can come by for a visit and see your beautiful work!

I absolutely LOVE to make things whenever I can,
 but I truly enjoy it most of all, when I get to create gifts for those special people in my life for their birthdays, anniversaries, weddings, and Christmas, etc. Here is one of the gifts I made for Bean coasters Don't worry, she won't see these pics. My family doesn't read my blog unless I tell them too! lol
Why have BLAH looking coasters , when you can have BEAUTIFUL and PERSONALIZED coasters instead? Remember.....you can you decorate these with any picture, graphics, you want!
These coasters are SOOO CUTE and SUPER UBER EASY TO MAKE! For these personalized coasters, you will need the following:
4 ceramic tiles in your choice of color, texture, and size (I like the textured 4x4 ones from Home Depot @ .31 cents each)
4 squares of scrapbook paper and cut these whatever size you want for your tile. I wanted a nice border of tile to be seen because I thought it was really pretty, so I cut mine paper smaller, leaving about a half inch tile border.
4 pictures printed to your smaller than your paper so you will have a pretty decorated border. I had to finagle these with my printer because I am COMPUTER ILLITERATE and couldn't figure out how to work the darn thing to make them the size I wanted, where I didn't have to cut them down.
OUTDOOR Mod Podge - it's very important you get the outdoor kind so it will make the coasters waterproof (you can get this at Michael's)
Foam paint brush
Felt (whatever color you like) - this goes on the back or each coaster so they won't scratch your table/counter surface
Aileen's tacky glue - or whatever kind of craft glue that you can use to adhere the felt to the back of each coaster
Directions:
Apply a layer of OUTDOOR Mod Podge to your tile, not real thin, but not goopy - somewhere in between. If you have too much, your picture will move. Lay your scrapbook paper down, smoothing from the inside out to the edges of your paper . . . . . .I used my Pampered Chef scraper for my stoneware! lol Set tile(s) aside and go do some wrapping, bake some cookies, or take a moment and have a nice hot cup of coffee.
After your Mod Podge and paper layer have dried, apply another coat to the entire tile, making sure to completely cover the paper. Now you are going to put your picture right on top of your background paper, making sure to again, smooth out the wrinkles working form the inside, out to the edges of your picture. Again, set aside and go do something FUN while it dries.
Now apply another coat of Mod Podge over your tile, completely covering the paper and picture. Set aside and go give your kiddos a big hug and tell them how much you love them! : > )
Ok, now we are down to the final steps. After your tiles dries, you are going to apply two (2) more coats of Mod Podge, allowing your tile to dry in between each coat. Now that you have finished your coasters, you need to allow them to cure for a day or two.
Now that your coasters have cured, it's time to put on the finishing touch, the felt. Lay your coaster on top of your felt and trace around all four edges and cut out. Apply your craft glue to the back, then adhere your felt. When the glue has dried, trim off the excess felt so it will be flush with the sides and not visible.
Now you are ready to wrap up your handmade personalized picture coasters all nice and pretty. See....that wasn't that hard, was it? I know you will really like these coasters and end up making a set for yourself. I also bought bigger tiles and will either make trivets or get those little tabletop stands and put them up as pictures to decorate the piano!
Don't forget, if you make these coasters, please come back and leave a link so we can come by for a visit and see your beautiful work!
Tuesday, October 16, 2012
Been very Busy......But It's A Good Thing
I'm sorry I haven't been around much lately, but that's a good thing. Rather then tell you what I've been up to, I'll show you.
"Children make your life important!"
A heart that loves, is always young!
"My precious niece.......an exact mini version of my sister!"
"A moment in my tummy....a lifetime in my heart!"

This is where I prefer to be........behind the camera!
Thank you for taking the time to stop by and visit!
GOD BLESS!
"Children make your life important!"
~ homeschool fall portraits ~
A heart that loves, is always young!
~A young newlywed couple~
"My precious niece.......an exact mini version of my sister!"
~ My niece, Boog~
"A moment in my tummy....a lifetime in my heart!"
~A maternity session~
"Just Shootin' My Friend"
~Sharing our passion for photography~
Thank you, S.......this shot is AMAZING!

This is where I prefer to be........behind the camera!
Thank you for taking the time to stop by and visit!
GOD BLESS!
Monday, October 8, 2012
Taco Soup Recipe

Good
morning, everyone! Around this time every year, I get requests for my taco soup receipe, so here it is, for your eating pleasure!
"Bon Appetit"
I just love fall and all that goes with it. The cool crisp air, the colors, the smells, the activities.....EVERYTHING! But I think what I love the most about the cool weather seasons is the food....soup in particular. :> ) The crockpots come out in full force and the aroma of my house during the day while dinner is cooking itself is AMAZING!
I have been making taco soup now for over a year and everyone that eats it LOVES it and doesn't go away hungry. I normally make it in on the stove, but today I used my best friend (my crockpot) to make it!
For this recipe you will need:
1 lb ground beef or ground turkey
1 large onion, chopped
2 cans diced tomatoes (I used 1 large can)
2 cans navy beans, drained (I used one navy and 1 black)
1 can pinto beans, drained (or you can substitute for another
navy or black bean)
1 can corn, drained
1 can chicken broth (I am using the low sodium kind)
1 pkg Hidden Valley Ranch dressing mix
1 pkg taco seasoning (I use my homemade seasoning mix)
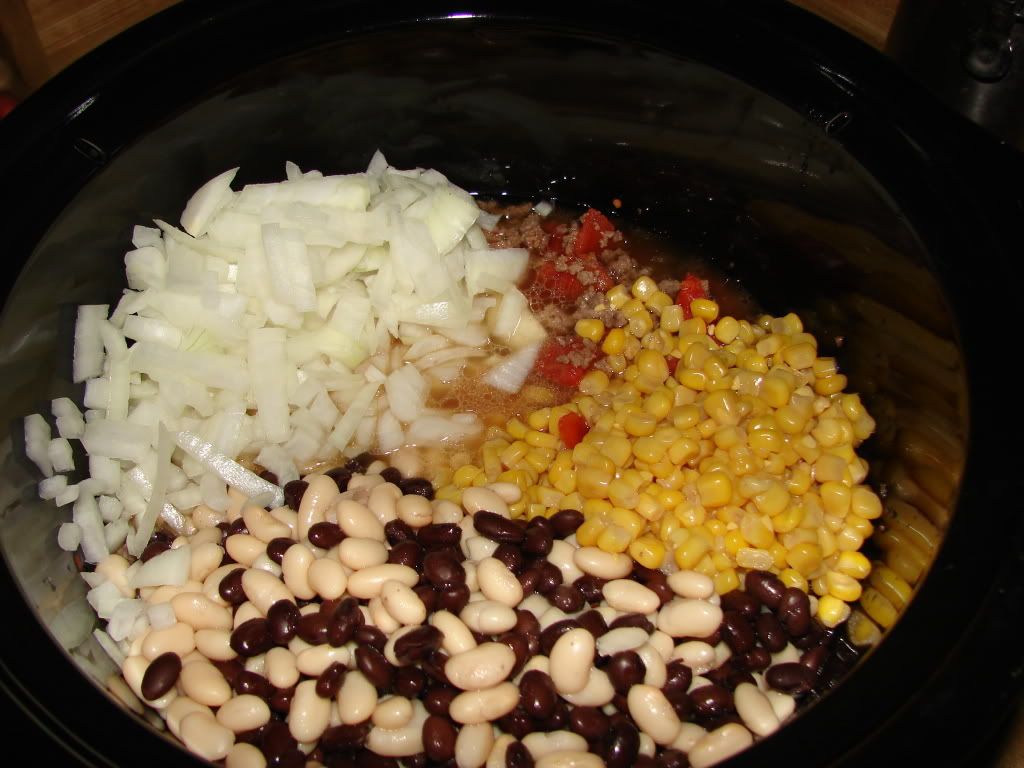
Brown meat and onion, drain. Add your diced tomatoes, all of the beans, corn, and chicken broth and stir.
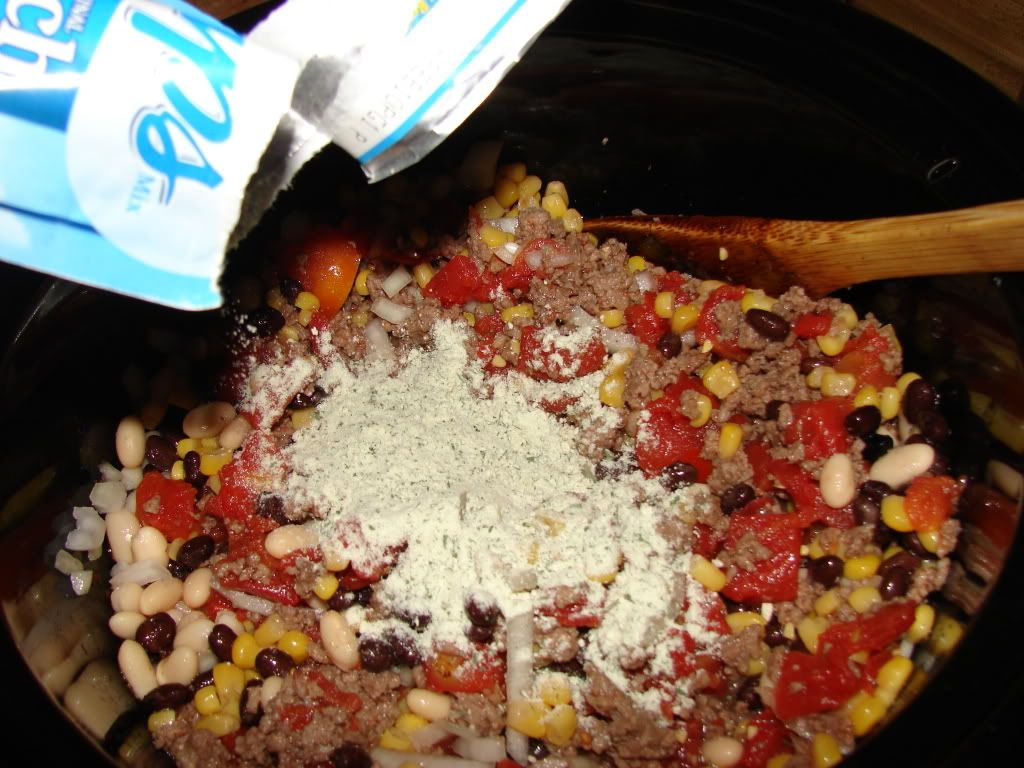
Add the Hidden Valley Ranch dressing packet, stir
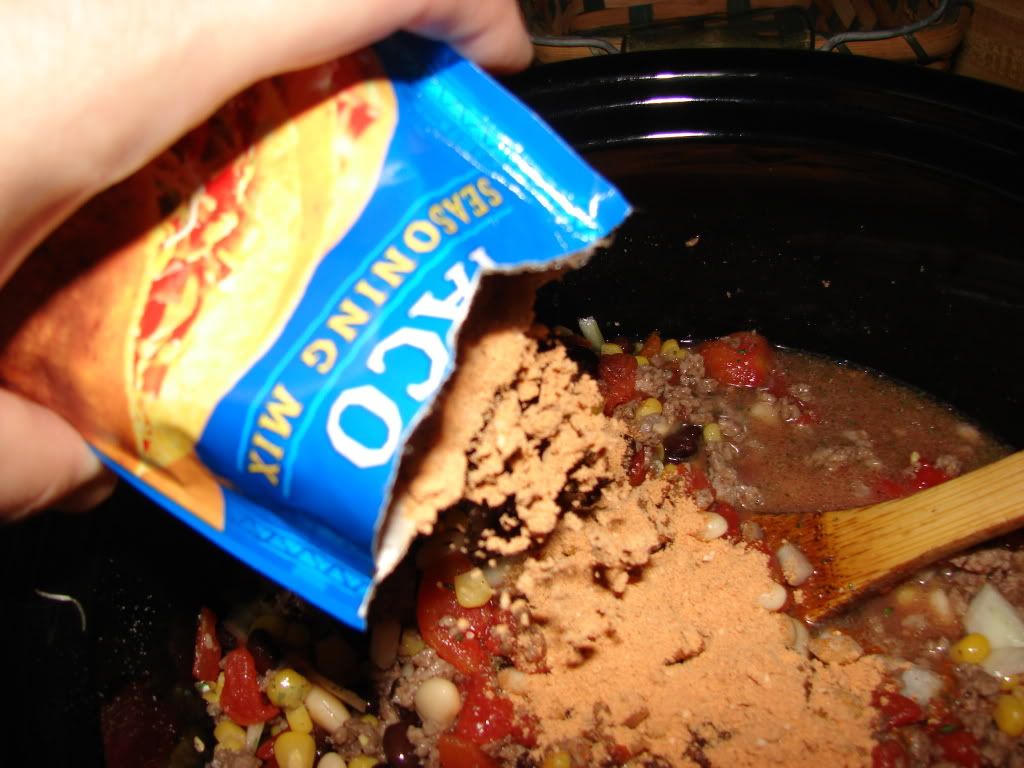
Add the taco seasoning packet, stir
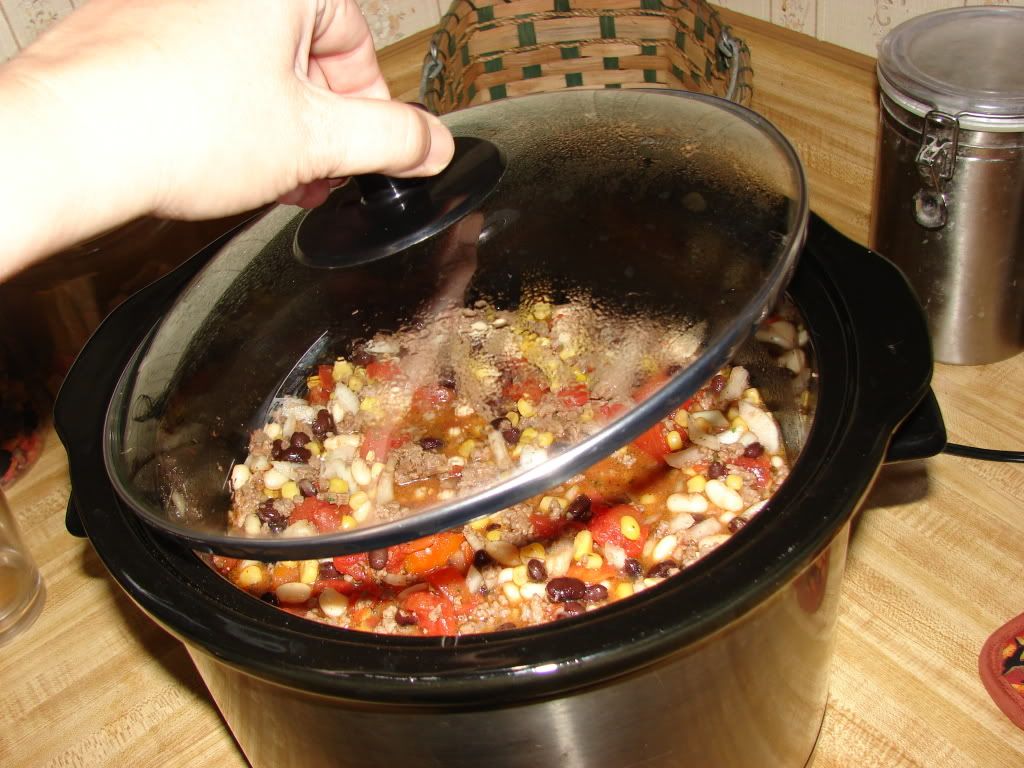
Cover
and cook on low for approximately 3-4 hours. I put mine on this morning
about 11:00. My house smells amazing and if Skippy is going to be late
for dinner, it's no problem.....I'll just turn it to warm!
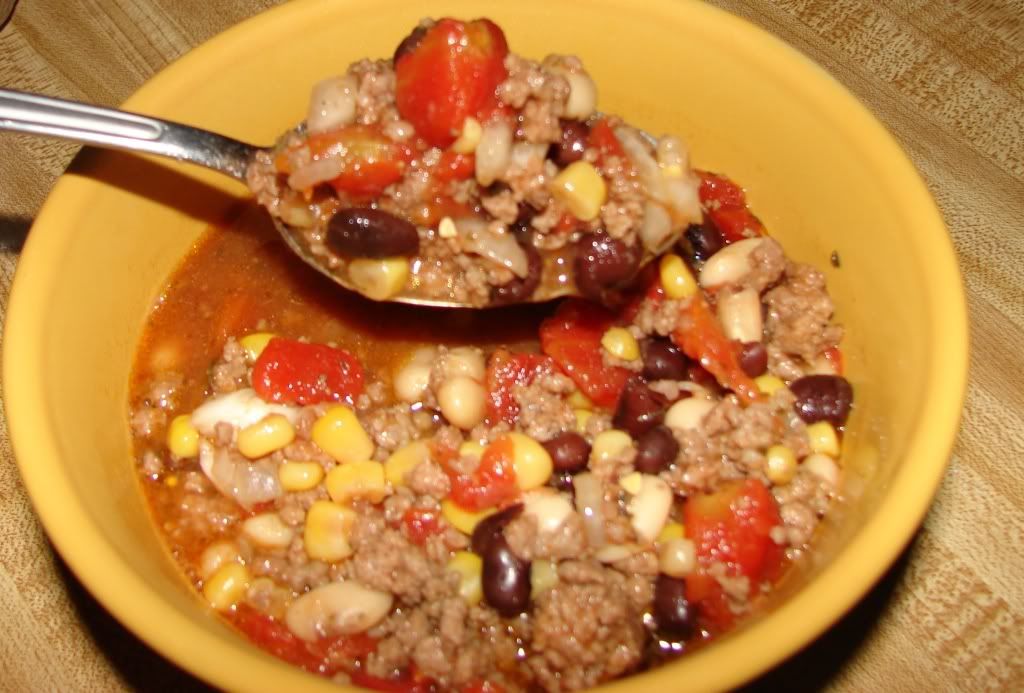
ENJOY!

Subscribe to:
Comments (Atom)


